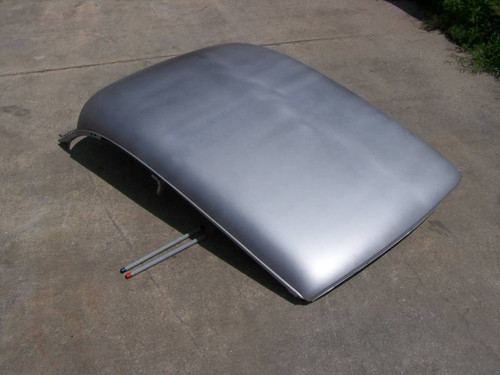
1957 Chevy 2-Door Sedan Top/Roof Structure And Skin Assembly Complete
STK2-57
- Reproduction Of Original
- The Best, Most Complete Way To Repair Rust Damage In Your Top/Roof Assembly
- Includes The Entire Top Structure With All Side & Cross Bows Fully Welded
- Includes Both Drip Rails
- Includes Top Skin
- Includes Windshield And Back Glass Center Fixtures To Ensure Proper Glass Openings
- Includes Replacement Inner B-Pillar Posts
- Skin And Drip Rails Are Only Tech-Screwed To Structure - Must Be Removed, Reinstalled And Welded Once Structure Is Installed On Car Body
- Price Includes $275 Crating Fee
- Instructions Are Listed Below
Shipping: Item ships via truck freight
Pricing:
$2,164.99
Description
An RDS Exclusive!
STK Sedan Top Structure Installation
- Install top structure using front-to-rear measurements (A-pillar to C-pillar) as well as windshield and backglass measurements from your car before the original top structure is removed.
- Reattach (weld) rear quarter window upper picture-frames to rear of top structure.
- Drill (with 5/16" drill bit) holes in drip rail flanges every 5-6 inches so the drip rails can be plug-welded to the top structure.
- Test fit top skin (without drip rails installed) and position until desired windshield, backglass and side gaps are obtained. Vise grip and tech-screw in place at front and rear pinchwelds.
- Push drip rails up under top skin edges until they are in the correct position front-to-rear and height. Mark body with paint pen at front and rear edges of drip rails so drip rail position can be determined once top skin is removed.
- Remove top skin and reposition/plug weld drip rails.
- Apply SEM Panel-Bond adhesive in a 1" wide ribbon to the inside edges of the top skin and the now-welded flanges just above drip gutters. Install top skin and pull down into drip gutters with vise-grips and short sections of 3/8" diameter rod. Spot or plug weld front and rear pinchweld flanges at windshield and rear glass openings. Allow panel bond to dry 24 hours.

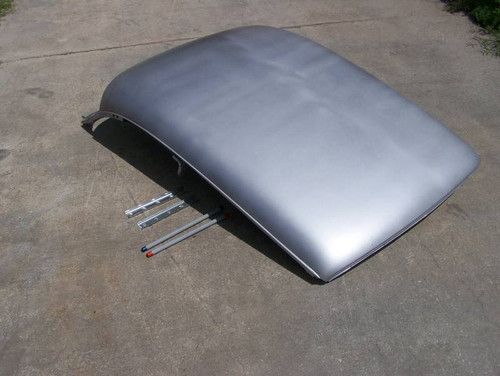
Details
- STK2-57
- STK2-57
- New
Categories
Shipping Information
- Item Requires Shipping
- 250.0 lbs.
- W58.0000” x H90.0000” x L48.0000”
- This item will require a special quote for shipping charges.
- Item ships via truck freight
Customer Reviews
Total Reviews (0)
You must login to post a review.
- The Real Deal Steel Difference
- We're the ExpertsAsk us anything. We know our Chevys!
- Largest SelectionIf you don't find the part, we'll help you find it!
- No Hassle ReturnsEasy returns or refunds
- Have a parts, body or technical question? Contact us
- info@realdealsteel.com
- 407-585-1957
- 1220 East 30th Street Sanford, FL 32773
Write the First Review!